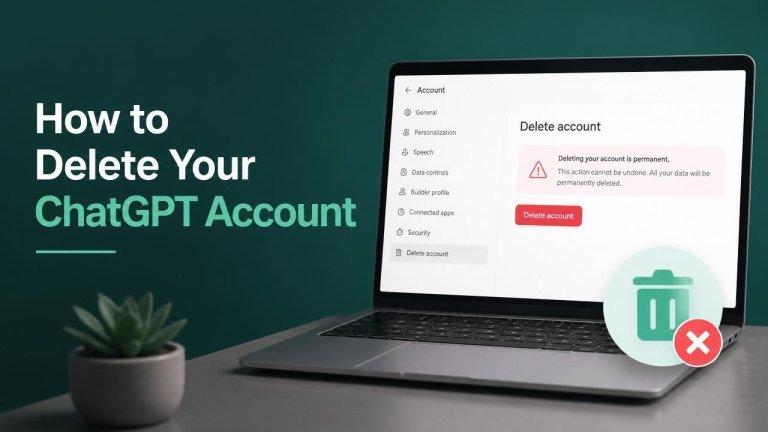
Deleting your ChatGPT account is a permanent step, so it is worth checking your data, subscriptions, and sign-in details before you begin. The exact menu names may vary slightly depending on whether you use ChatGPT on the web or in the mobile app.
Before you delete your ChatGPT account
Account deletion is generally permanent, so review anything you may need later. If you want to keep a record of your conversations, request or download an export of your data before submitting the deletion request. You should also check for an active paid subscription and cancel it through the platform where you purchased it. These precautions also apply when you delete your Google account.
Make sure you are signed in to the correct account. If you use more than one email address or sign-in method, confirm the account details before continuing. Deleting one account will not necessarily affect another account you own.
How to delete your account on the web
To delete your ChatGPT account from a web browser:

- Sign in to ChatGPT.
- Open your profile menu and select Settings.
- Look for the account, data controls, or privacy section.
- Choose the option to delete your account, then follow the confirmation steps.
- Complete any required verification and submit the request.
Menu labels can change as the service is updated. If you cannot find the deletion option, check the account or privacy settings carefully and use the official OpenAI Help Center for the current route.
How to delete your account in the mobile app
The ChatGPT mobile apps may provide account deletion through the app settings. Open the app, access your account menu, and select Settings. Look for a privacy, data controls, or account option that includes account deletion, as with mobile app account deletion, then follow the on-screen instructions.
If the app does not show a deletion option, use the official OpenAI support or privacy request process. Avoid relying on unofficial websites or third-party services that ask for your password or verification codes.
Cancel your ChatGPT subscription first
Deleting an account and canceling a subscription are separate actions in some cases. If you subscribed through the Apple App Store or Google Play, manage cancellation in the relevant store. If you subscribed on the web, review your billing settings and cancel the plan there.
Check for a confirmation message after canceling and keep a copy of it. If you cannot access billing settings or are unsure where the subscription was purchased, contact official support before deleting the account.
What happens after account deletion?
After you confirm deletion, you may lose access to your chat history, account settings, and other account-related information. Deletion may not happen instantly, and some information may be retained for limited periods when required for legal, security, or fraud-prevention reasons.
Because the process is intended to be irreversible, do not submit the request until you are certain. If you only want a break from ChatGPT, signing out, removing the app, or adjusting privacy settings may be a better option. This is the same consideration involved in permanent account deletion.
If you cannot access your account
If you cannot sign in, use the official support or privacy request channel. Include enough information to help identify the account, but never send your password, authentication codes, or other sensitive credentials.
Support may need to verify ownership before processing a deletion request. Follow instructions only from the official OpenAI website and check the destination before entering any personal information.
Quick checklist before submitting deletion
- Confirm that you are using the correct account.
- Export or save any important conversations.
- Cancel subscriptions through the original billing platform.
- Review the deletion warning and understand that the action may be permanent.
- Keep any confirmation details for your records.
If you have completed these checks, use the account settings or official privacy support process to submit your deletion request. When in doubt, verify the current instructions through the official OpenAI Help Center rather than an unofficial guide.