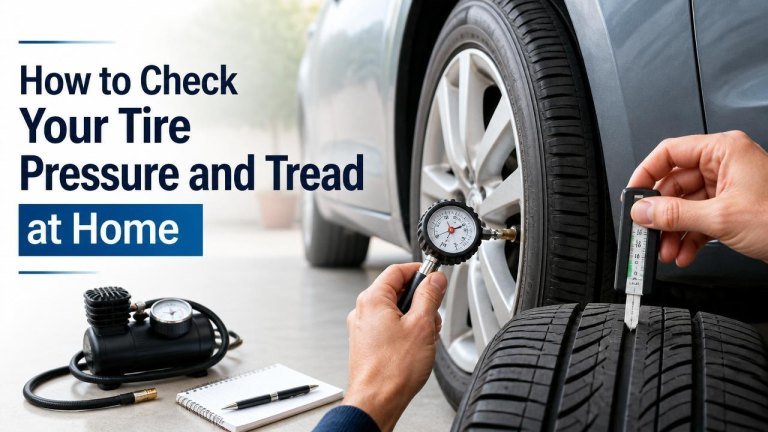
Regular tire checks are one of the simplest ways to support safe, comfortable driving. You can inspect your tire pressure and tread condition at home in just a few minutes, usually without special equipment.
What You Need Before You Start
Gather a reliable tire-pressure gauge, your vehicle’s recommended pressure information, and a flashlight if the lighting is poor. An air pump is also useful if any tire needs adjustment. Check the pressure when the tires are cold, ideally before driving or several hours after the vehicle has been used.
How to Check Your Tire Pressure
Correct pressure supports handling, braking performance warnings, and even tire wear. Do not use the number molded into the tire sidewall as your target; that figure may indicate a maximum pressure rather than your vehicle’s recommended setting.
Find the Recommended Pressure
Look for the correct pressure on the driver’s doorjamb label, inside the fuel or charging flap, or in the owner’s manual. Some vehicles specify different pressures for the front and rear tires, so check each value carefully.
Measure Each Tire
Remove the valve-cap cover and press the gauge firmly onto the valve stem. Read the result and compare it with the recommended number. Measure all four tires, plus the spare tire if your vehicle has one. A brief hiss while attaching the gauge is normal, but hold it securely to avoid an inaccurate reading.
Adjust the Pressure Carefully
If a tire is low, add air in short bursts and recheck it. If it is too high, release a small amount using the gauge or valve stem, then measure again. Replace every valve cap when finished, and record any tire that repeatedly loses pressure because a slow leak may need professional attention.

How to Inspect Tire Tread at Home
Tread helps your vehicle maintain road grip, especially on wet surfaces. Inspect the entire tread rather than looking at only one spot, and check for uneven wear, cuts, cracks, bulges, or objects embedded in the rubber. The condition of your steel and aluminum wheels can also affect overall wheel and tire safety.
Use the Tread-Wear Indicators
Look for raised bars running across the grooves. These tread-wear indicators show how close the tire is to its legal or replacement limit. If the surrounding tread is level with these bars, the tire is worn and should be assessed for replacement.
Try the Coin Test as a Quick Screen
A coin can provide a rough visual check, but it is not a substitute for a proper tread-depth gauge or local safety requirements. Insert the coin into several grooves and compare the visible portion. If the tread looks shallow or inconsistent, arrange a professional inspection rather than relying on the coin alone.
Signs Your Tires Need Immediate Attention
Do not ignore a visible bulge, deep cut, exposed cord, damaged valve, or tire that loses air quickly. Vibration, pulling to one side, unusual noise, or repeated pressure loss can also signal a problem. Avoid driving on a tire that appears structurally damaged; use roadside assistance or contact a qualified tire professional.
How Often Should You Check?
Make a monthly check part of your routine and inspect the tires before long trips. Check them again after major temperature changes, since air pressure can change with temperature. A quick look before driving can also reveal a visibly low tire or new damage, while a TPMS warning light may signal a pressure issue.
Final Safety Checklist
Before you finish, confirm that all tires have the recommended pressure, the valve caps are secure, and the tread is wearing evenly. Make sure no tire has a puncture, bulge, or exposed material. If anything looks unusual, have the vehicle inspected by a qualified professional before continuing to drive.